Before you begin
Decide what the workflow should accomplish—for example Individual KYC, Corporate KYB or ODD Periodic Review. Confirm the required checks, review outcomes and team responsible for manual cases.
WIDTH includes pre-built templates for common compliance scenarios. A template is the fastest starting point; use a blank workflow only when you are ready to design every node and branch.
Create the workflow
- Select Workflow in the left sidebar.
- Select New Workflow at the top-right of the Workflow List.
- Enter a clear Workflow Name that other users will recognise.
- Add a description explaining the purpose and intended use.
- Choose a pre-built template or select the blank option.
- Select Create. WIDTH opens the workflow in the Canvas Editor.
Add and configure nodes
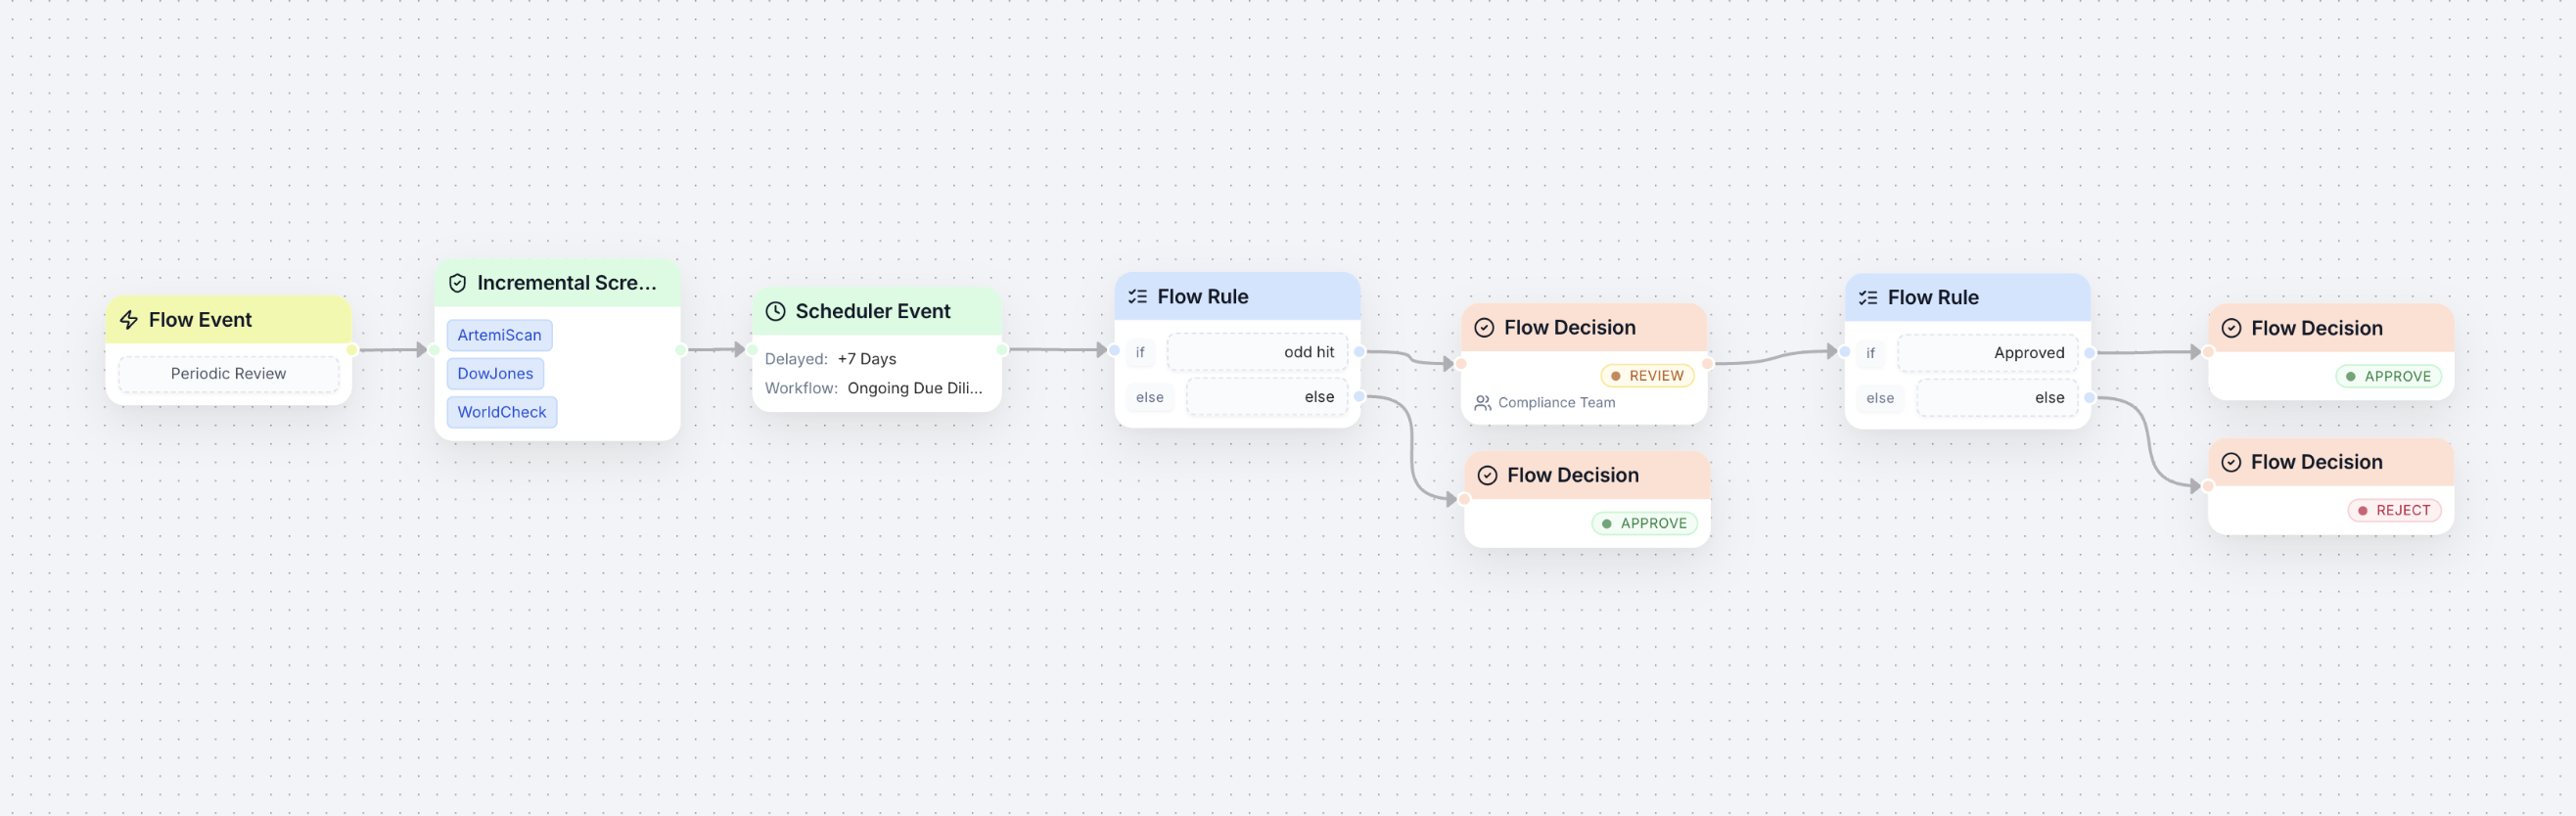
Use the bottom node panel to choose Event, Action, Rule or Decision. Hover over a category, then drag the required node onto the canvas. Arrange nodes from left to right in execution order.
Double-click a node to open its configuration panel. Configuration depends on the node: an Event selects KYC or KYB; Screening selects its data source and matching strategy; Customer Risk Assessment configures scoring; and a Rule defines conditions and branches.
Connect, validate and save
Drag from the output port on the right of a source node to the input port on the left of the target node. To correct a link, select it, press Delete and reconnect it.
Complete every required configuration field. Use Validate to locate missing settings or broken paths, correct all reported errors and select Save in the top toolbar.
Common problems
If validation fails, check required node fields and confirm that every intended path reaches a Decision. If cases are not created, check whether the relevant branch reaches a REVIEW outcome and whether case assignment has been configured.
Rule nodes may lead to multiple decisions. Confirm that high-risk, low-risk and exception paths go to the intended APPROVE, REJECT or REVIEW results before activation.
Expected result
The Workflow List displays the new workflow with its name, description and status. Opening its card returns to the saved Canvas Editor configuration.
WIDTH reference material
Based on WIDTH One Platform User Guide v2.0, dated 12 April 2026
Interface labels and available actions may vary by role, configuration and platform version. Contact your WIDTH administrator or support representative if an option shown here is unavailable.